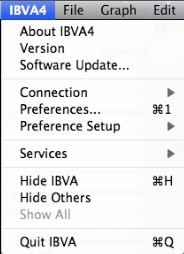
4: Menu


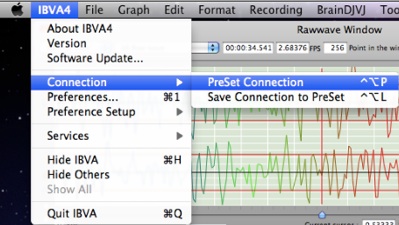
4: Menu

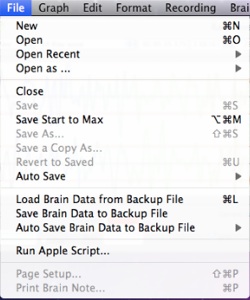


4: Menu
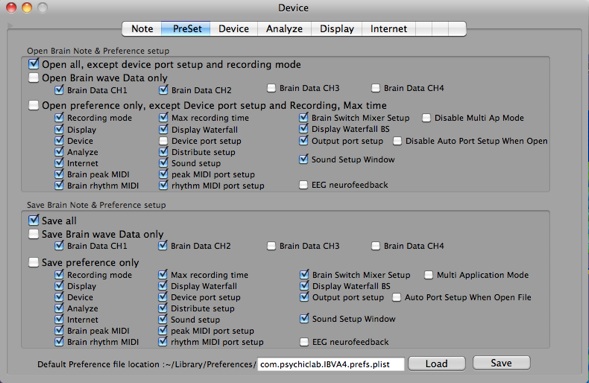
4: Menu